Sometimes, it’s helpful to be married to a car guy.

Okay, a LOT of times it’s helpful to be married to one!  I’ve lost count of how many times Jack has been able to diagnose and fix problems with my various cars over the years…  it’s saved me a ton of money and aggravation!  (Plus he loves to do it, so everyone wins!)  But it turns out his major car mojo has been extra helpful with our new home as well.

Jack with the other love of his life, his ’55 Chevy. IMG_0806

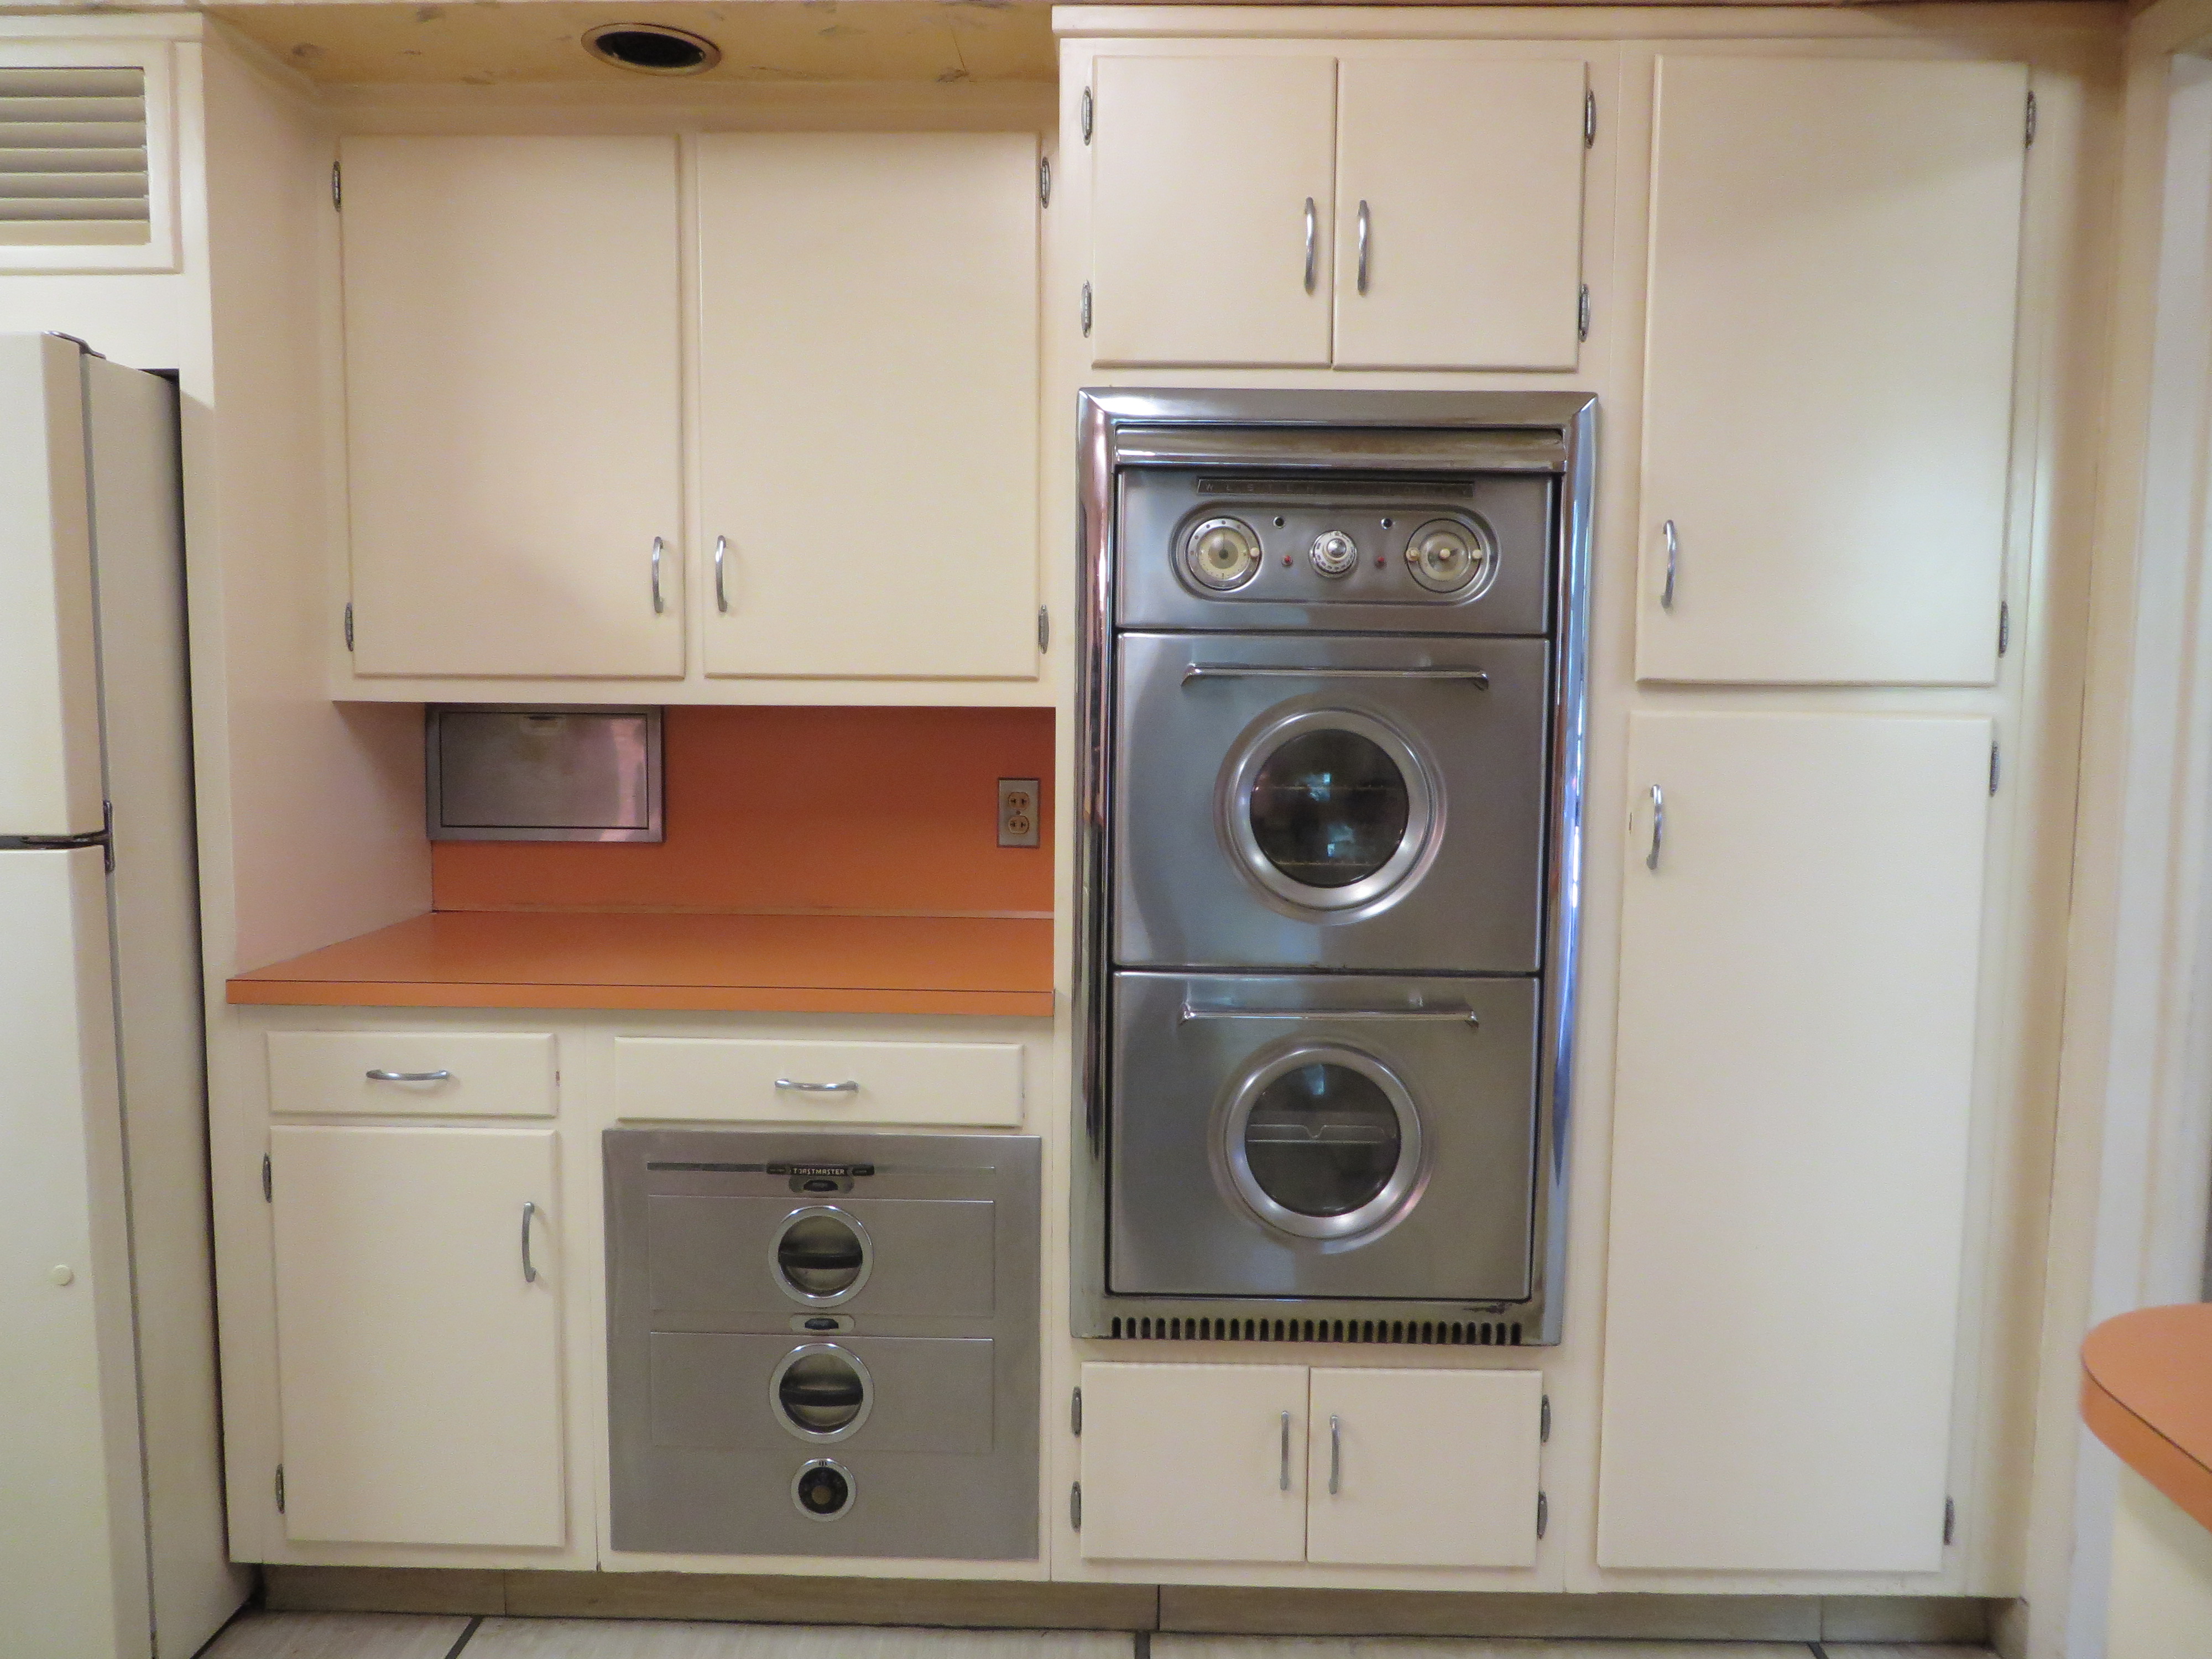
So, recently Jack surprised me with a cosmetic spruce-up of our double oven.  When we bought our house, the chrome surround for the oven had been pretty gross — dull and tarnished, pitted, and just blecch looking.  One weekend Jack pointed out the chrome, and I couldn’t believe the difference — I wish I’d gotten before and after shots, because it looked gleaming new!!!!  His secret?  Simichrome polish! IMG_1656

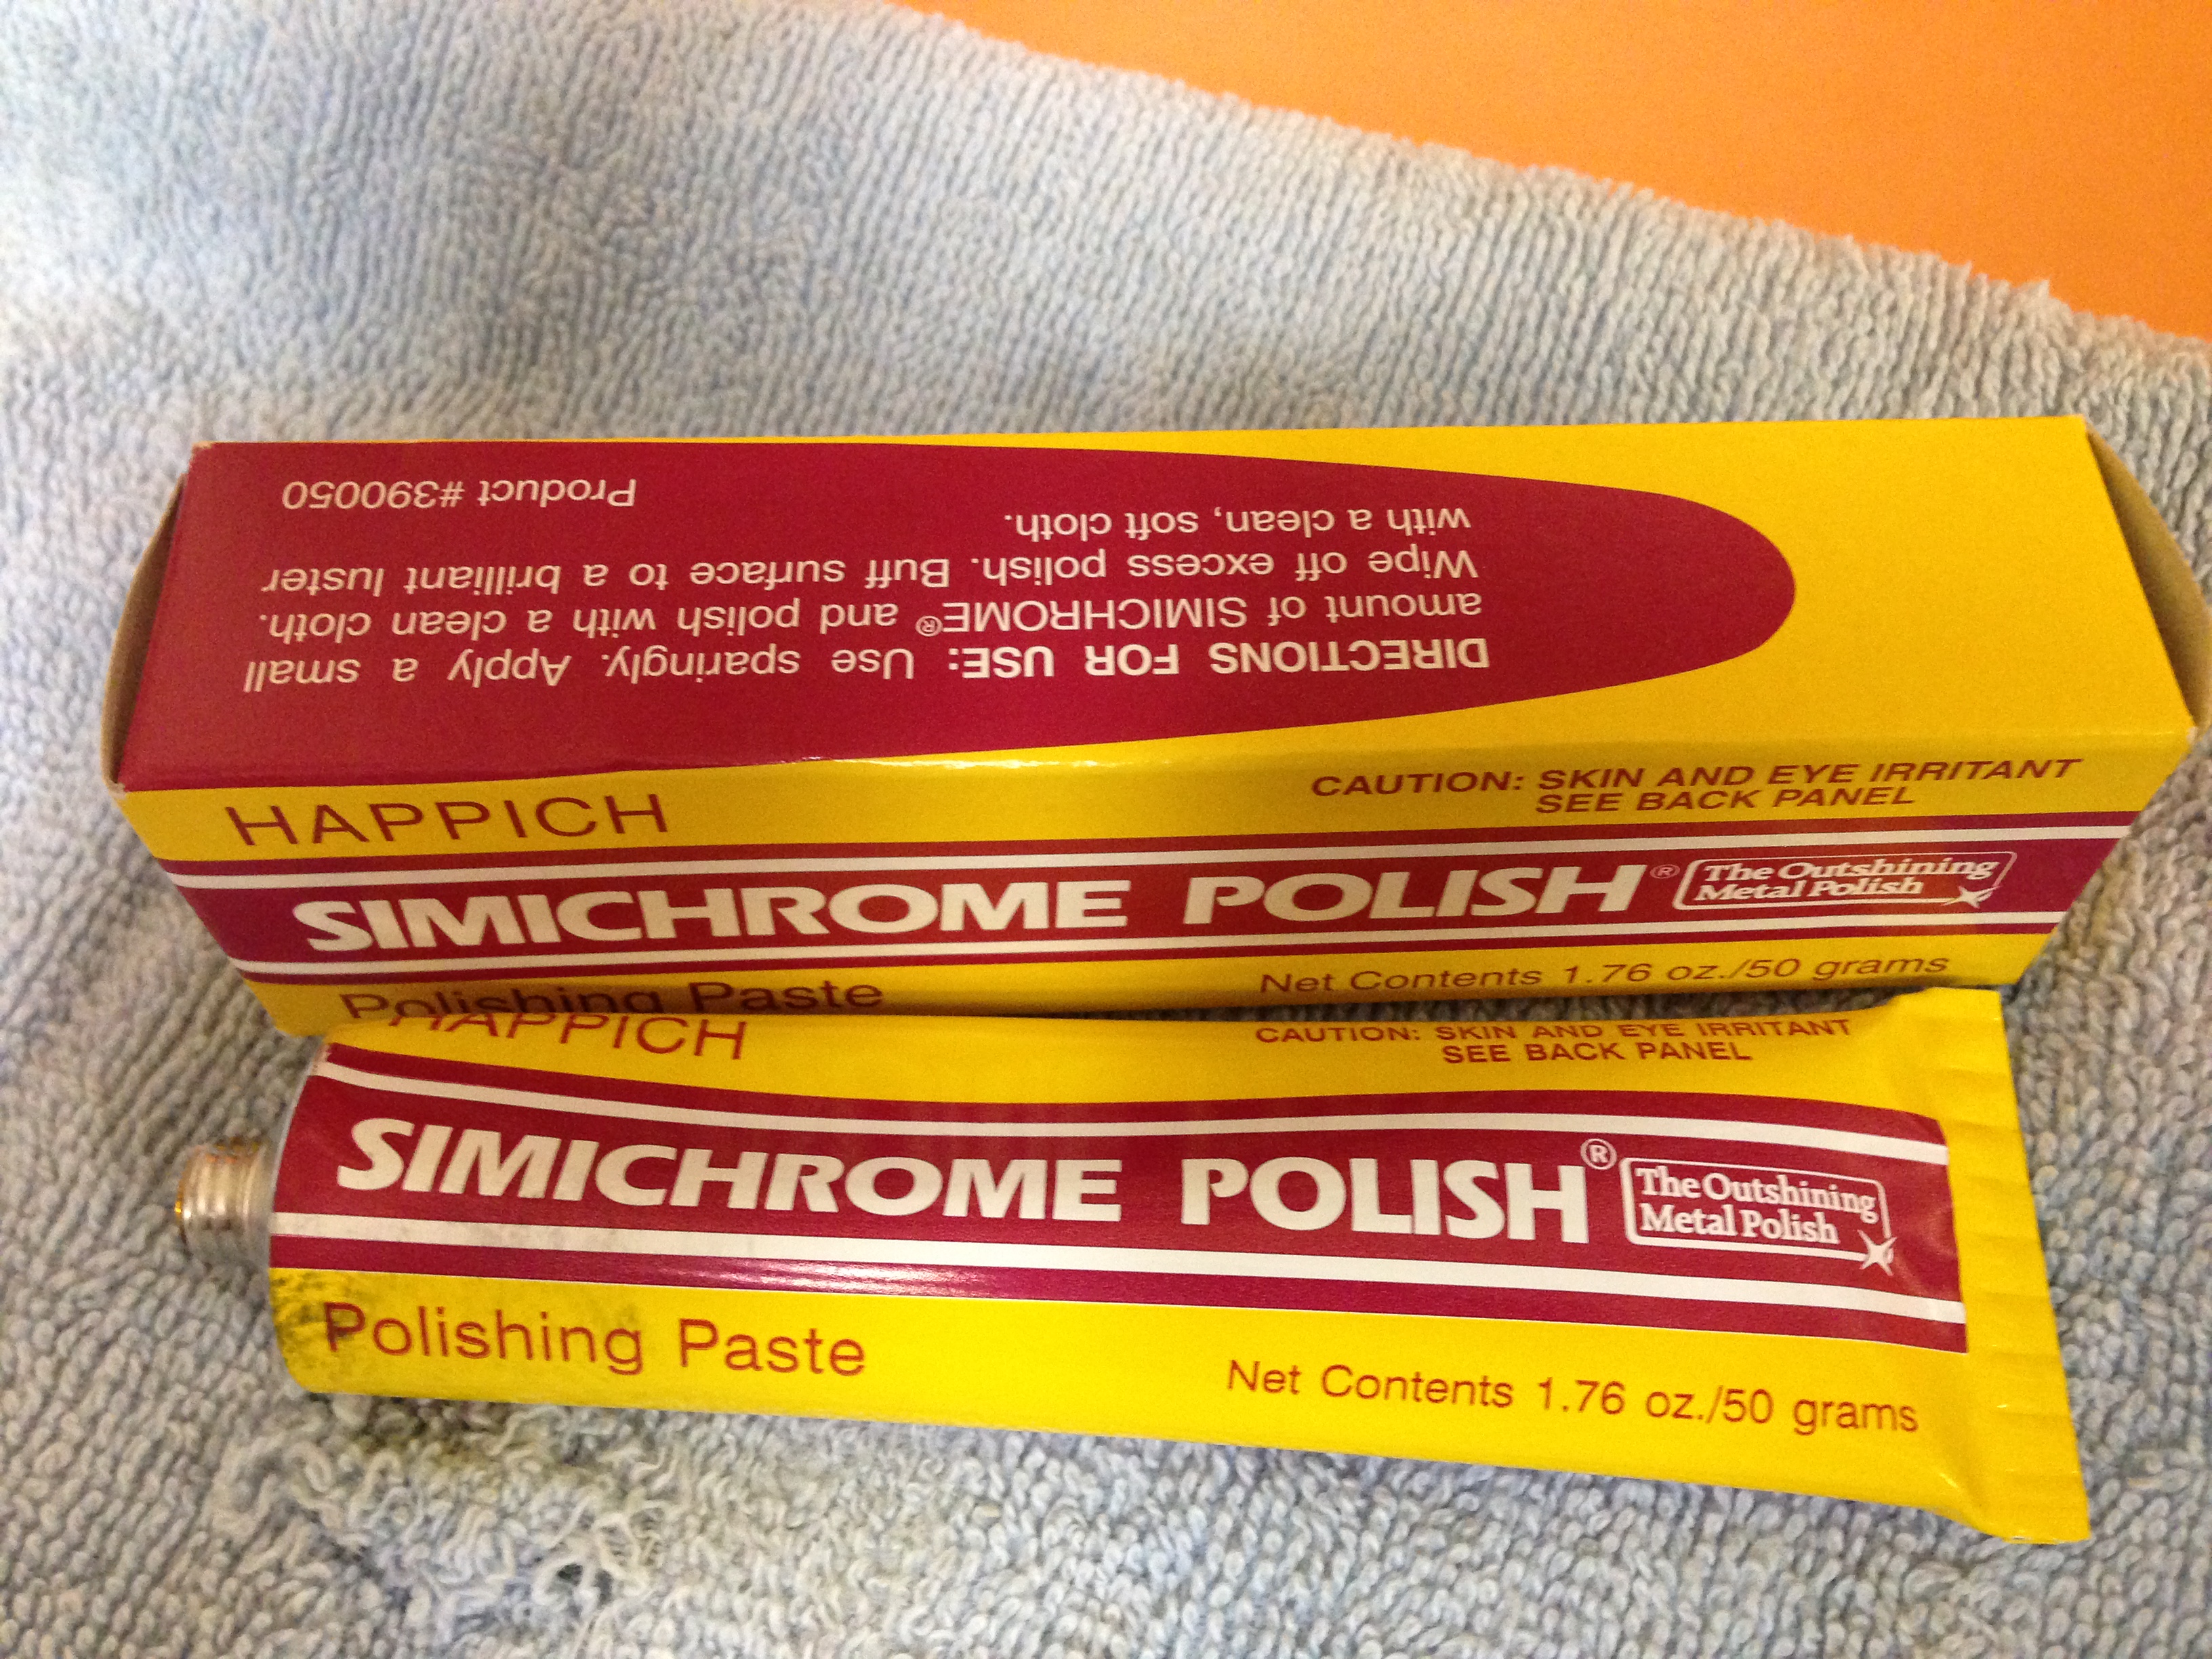
This is the same stuff that he uses on parts of his ’55 to get it looking so shiny — you can use it to polish up any metal, not just chrome.  So that includes stuff around the house!  We put it to the test a couple of weeks later, when trying to salvage part of our medicine cabinets.  See, when we first started our renovations, a very well-meaning family member took all the aluminum shelf clips that we’d set aside (these are the clips that hold the glass shelves up in each cabinet)…  and in the spirit of wanting to help, they ran the whole lot of them through the dishwasher to try to get the nicotine residue off of them and shine them up.  Instead of shiny, the combination of harsh soap and hot water left all of them dull and flat: IMG_1654

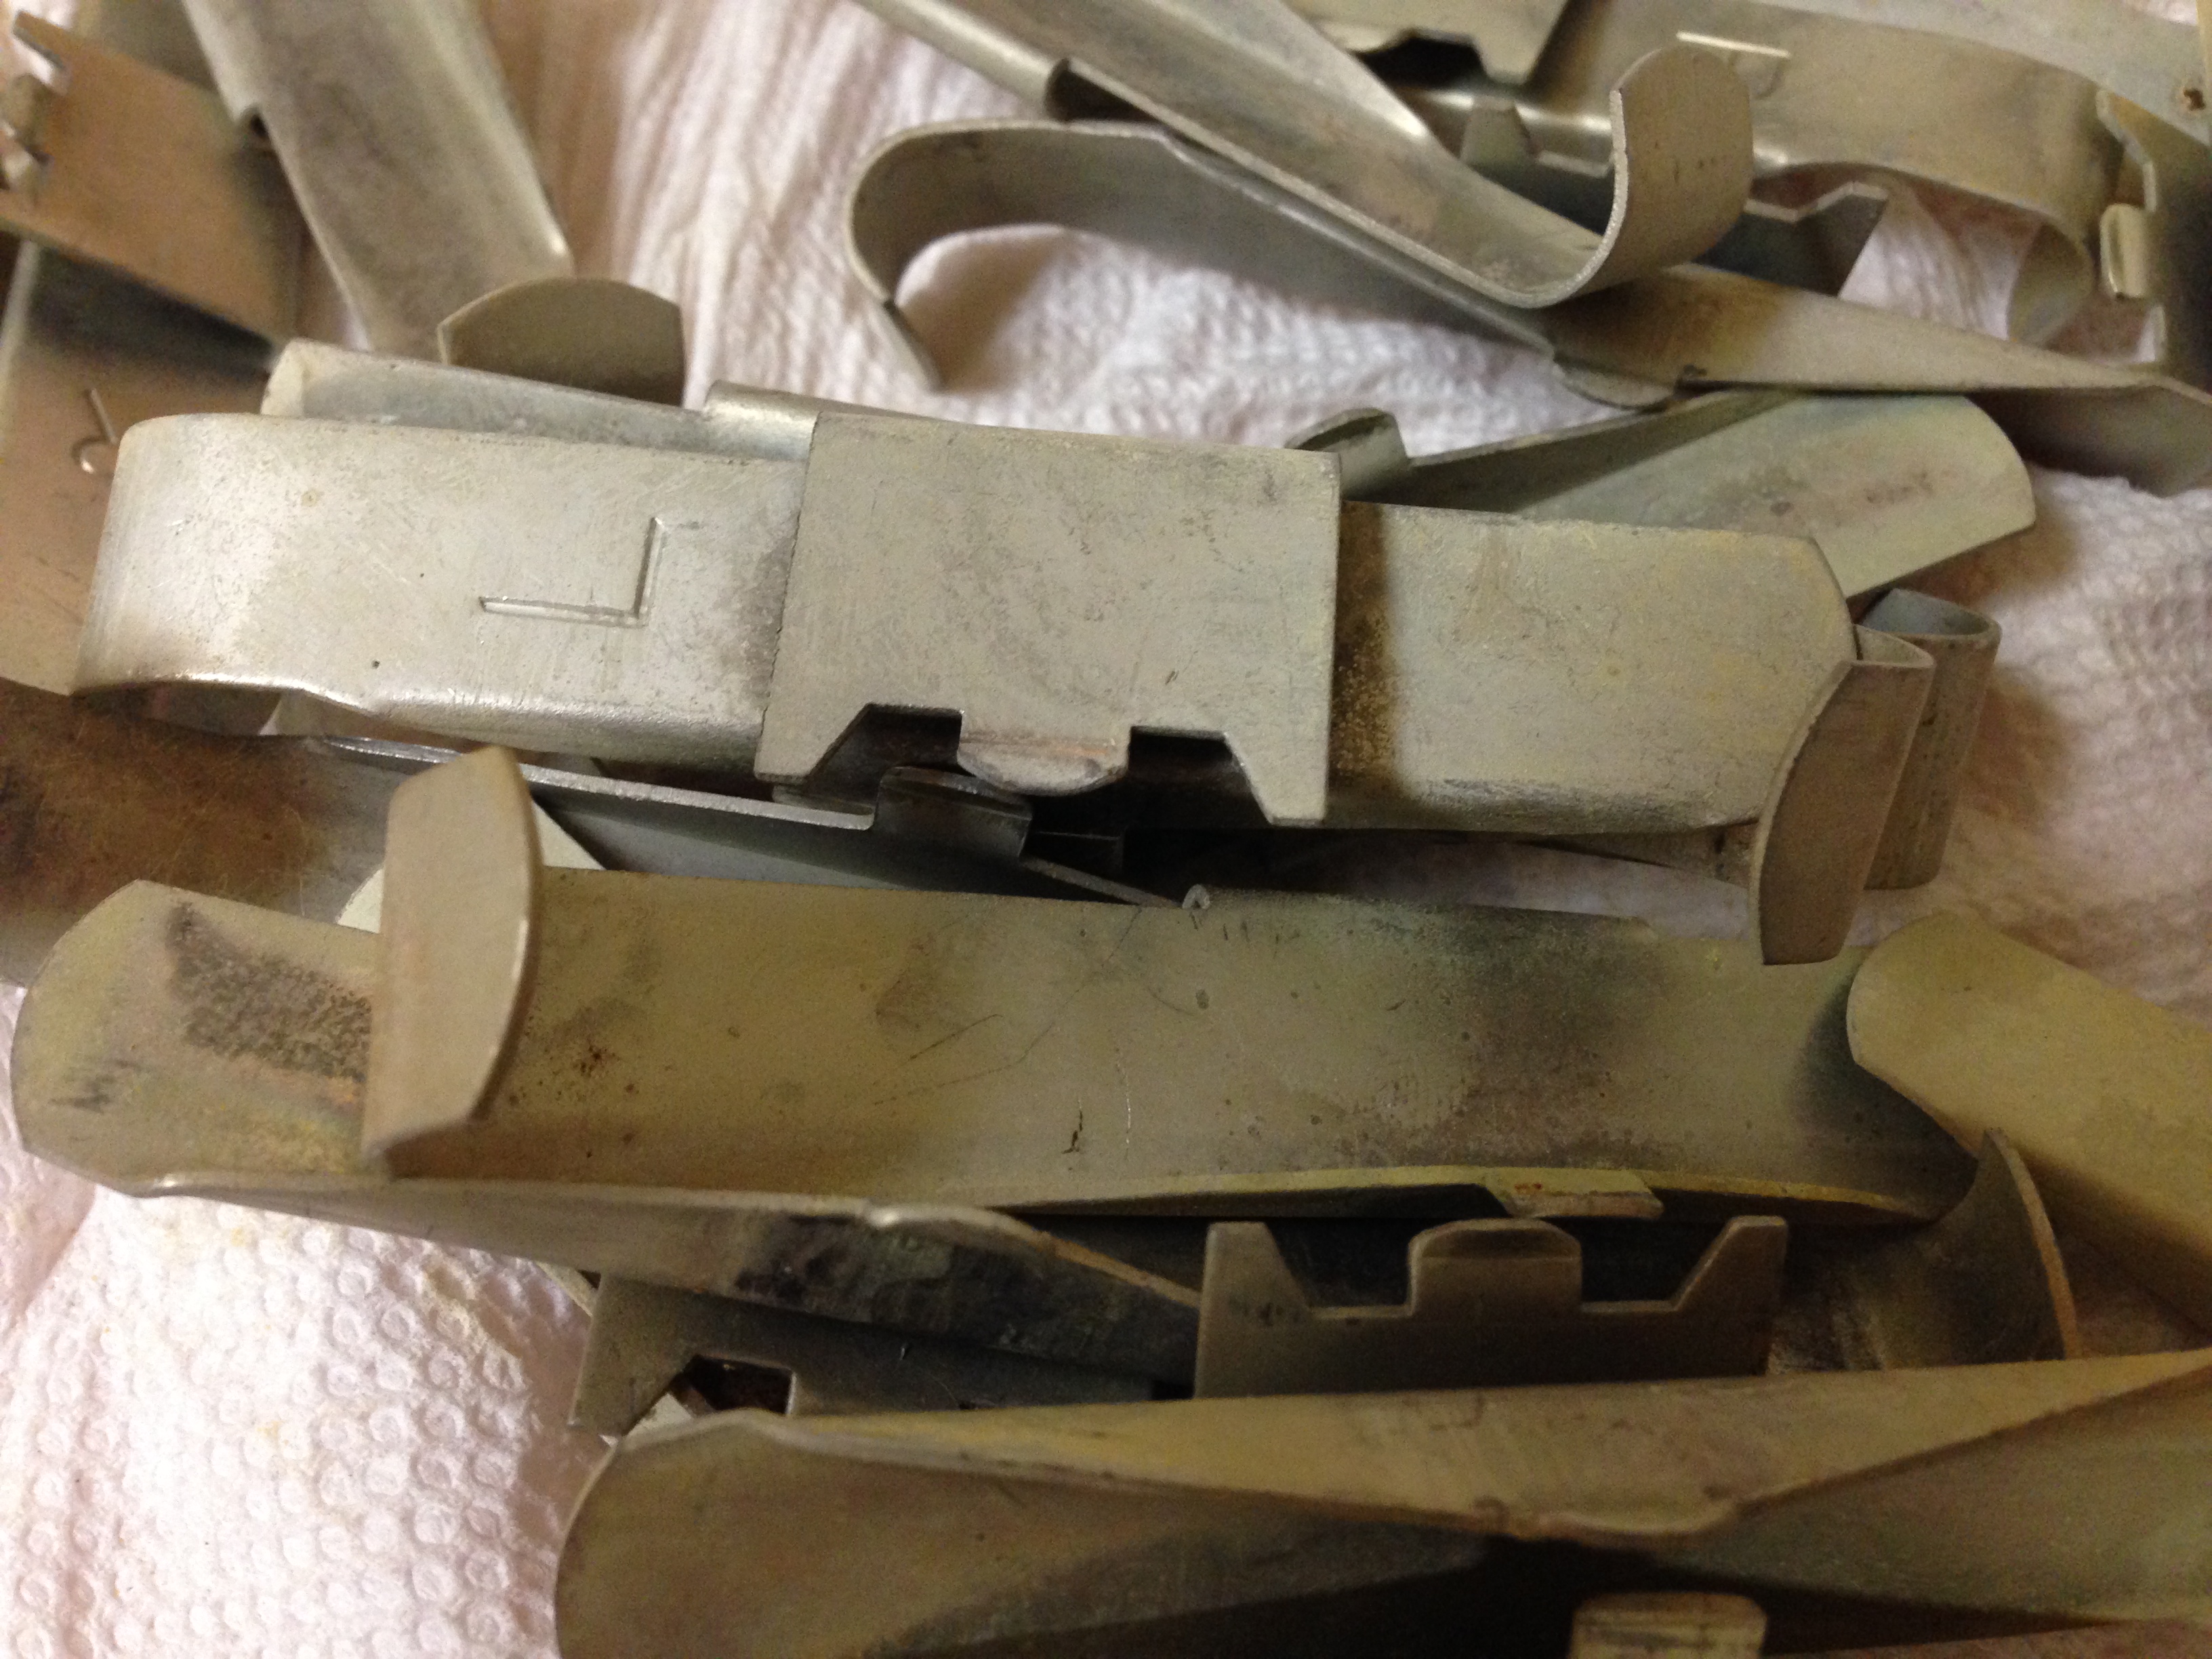
I panicked, because I wasn’t sure we’d ever be able to replace them.  And they’re such a visible part of the cabinets, keeping them as-is would just look bleh.  But Jack gave the Simichrome polish a try…  and although it was tedious work, it shined them up good as new! The one on the left in the photo below is post-dishwasher…  the one on the right is post-Simichrome.  It was actually hard to get a good shot because the polished one was so shiny!  🙂 IMG_1662

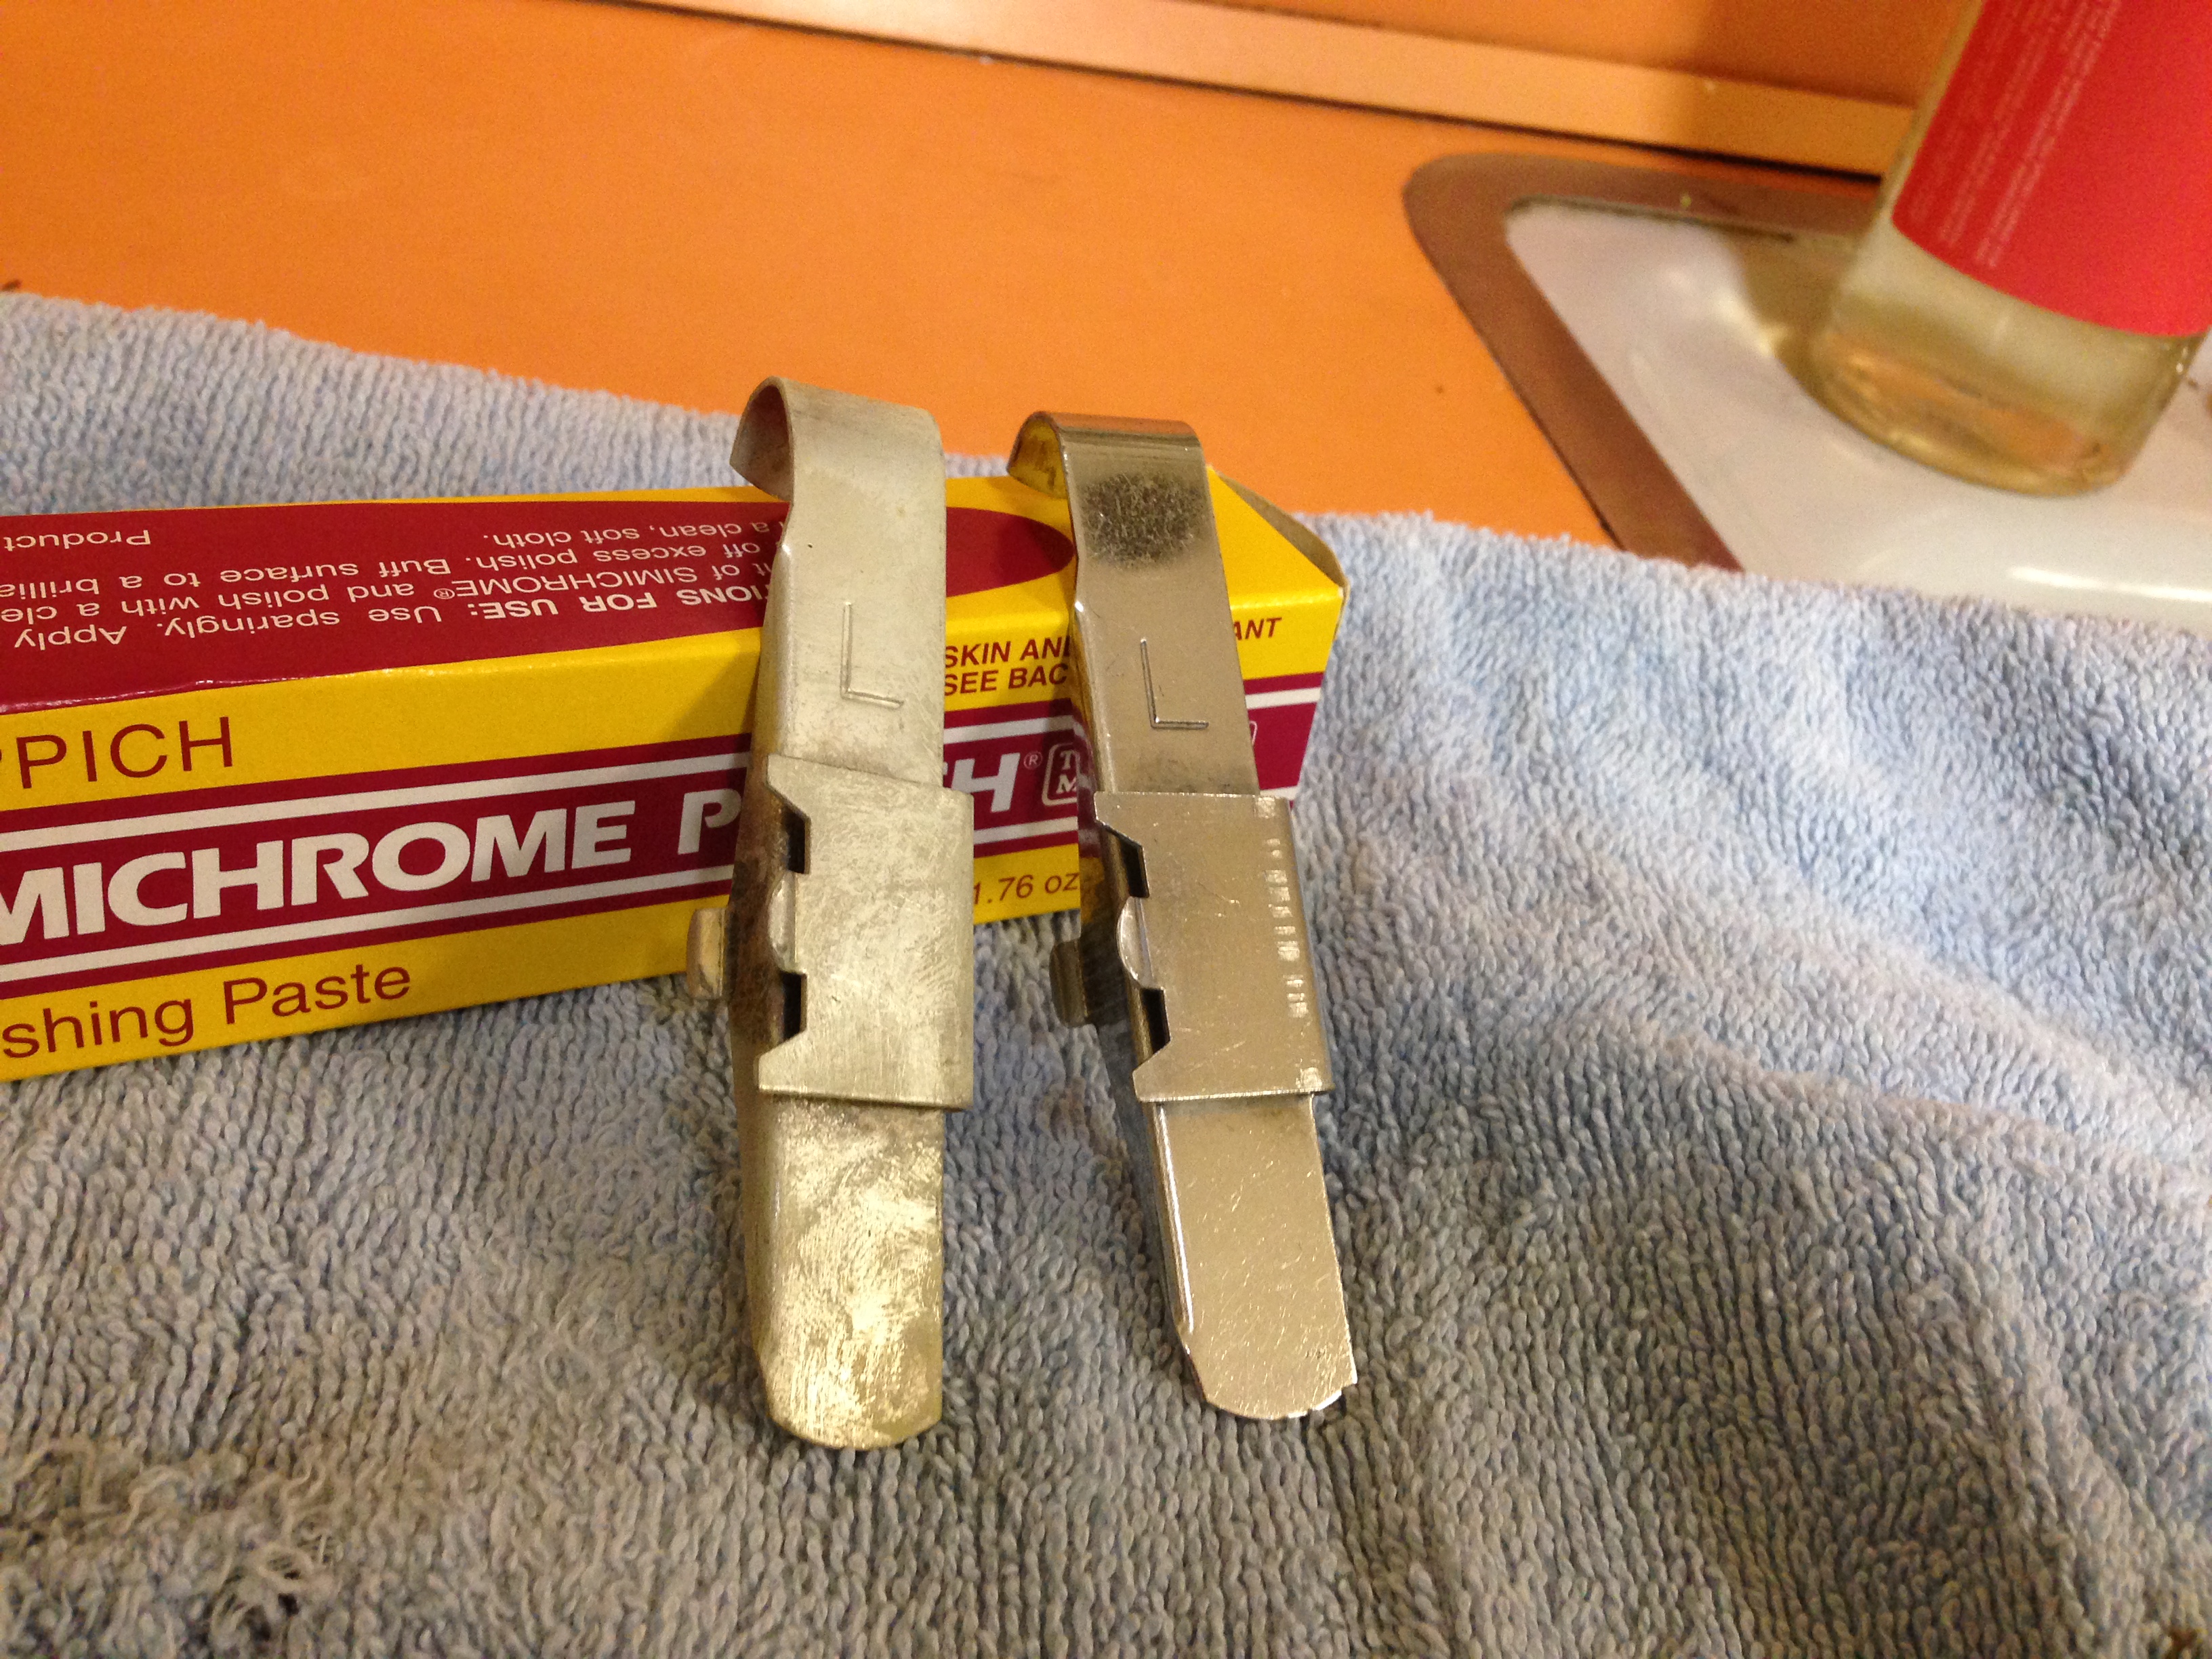
So this weekend, Jack finally tackled something that’s been driving him crazy for months — the fish detail in our shower door.  Same as the oven surround, it was disgusting — pitted, nicotine-stained, and tarnished. IMG_1232

Here’s a closer shot. IMG_1235

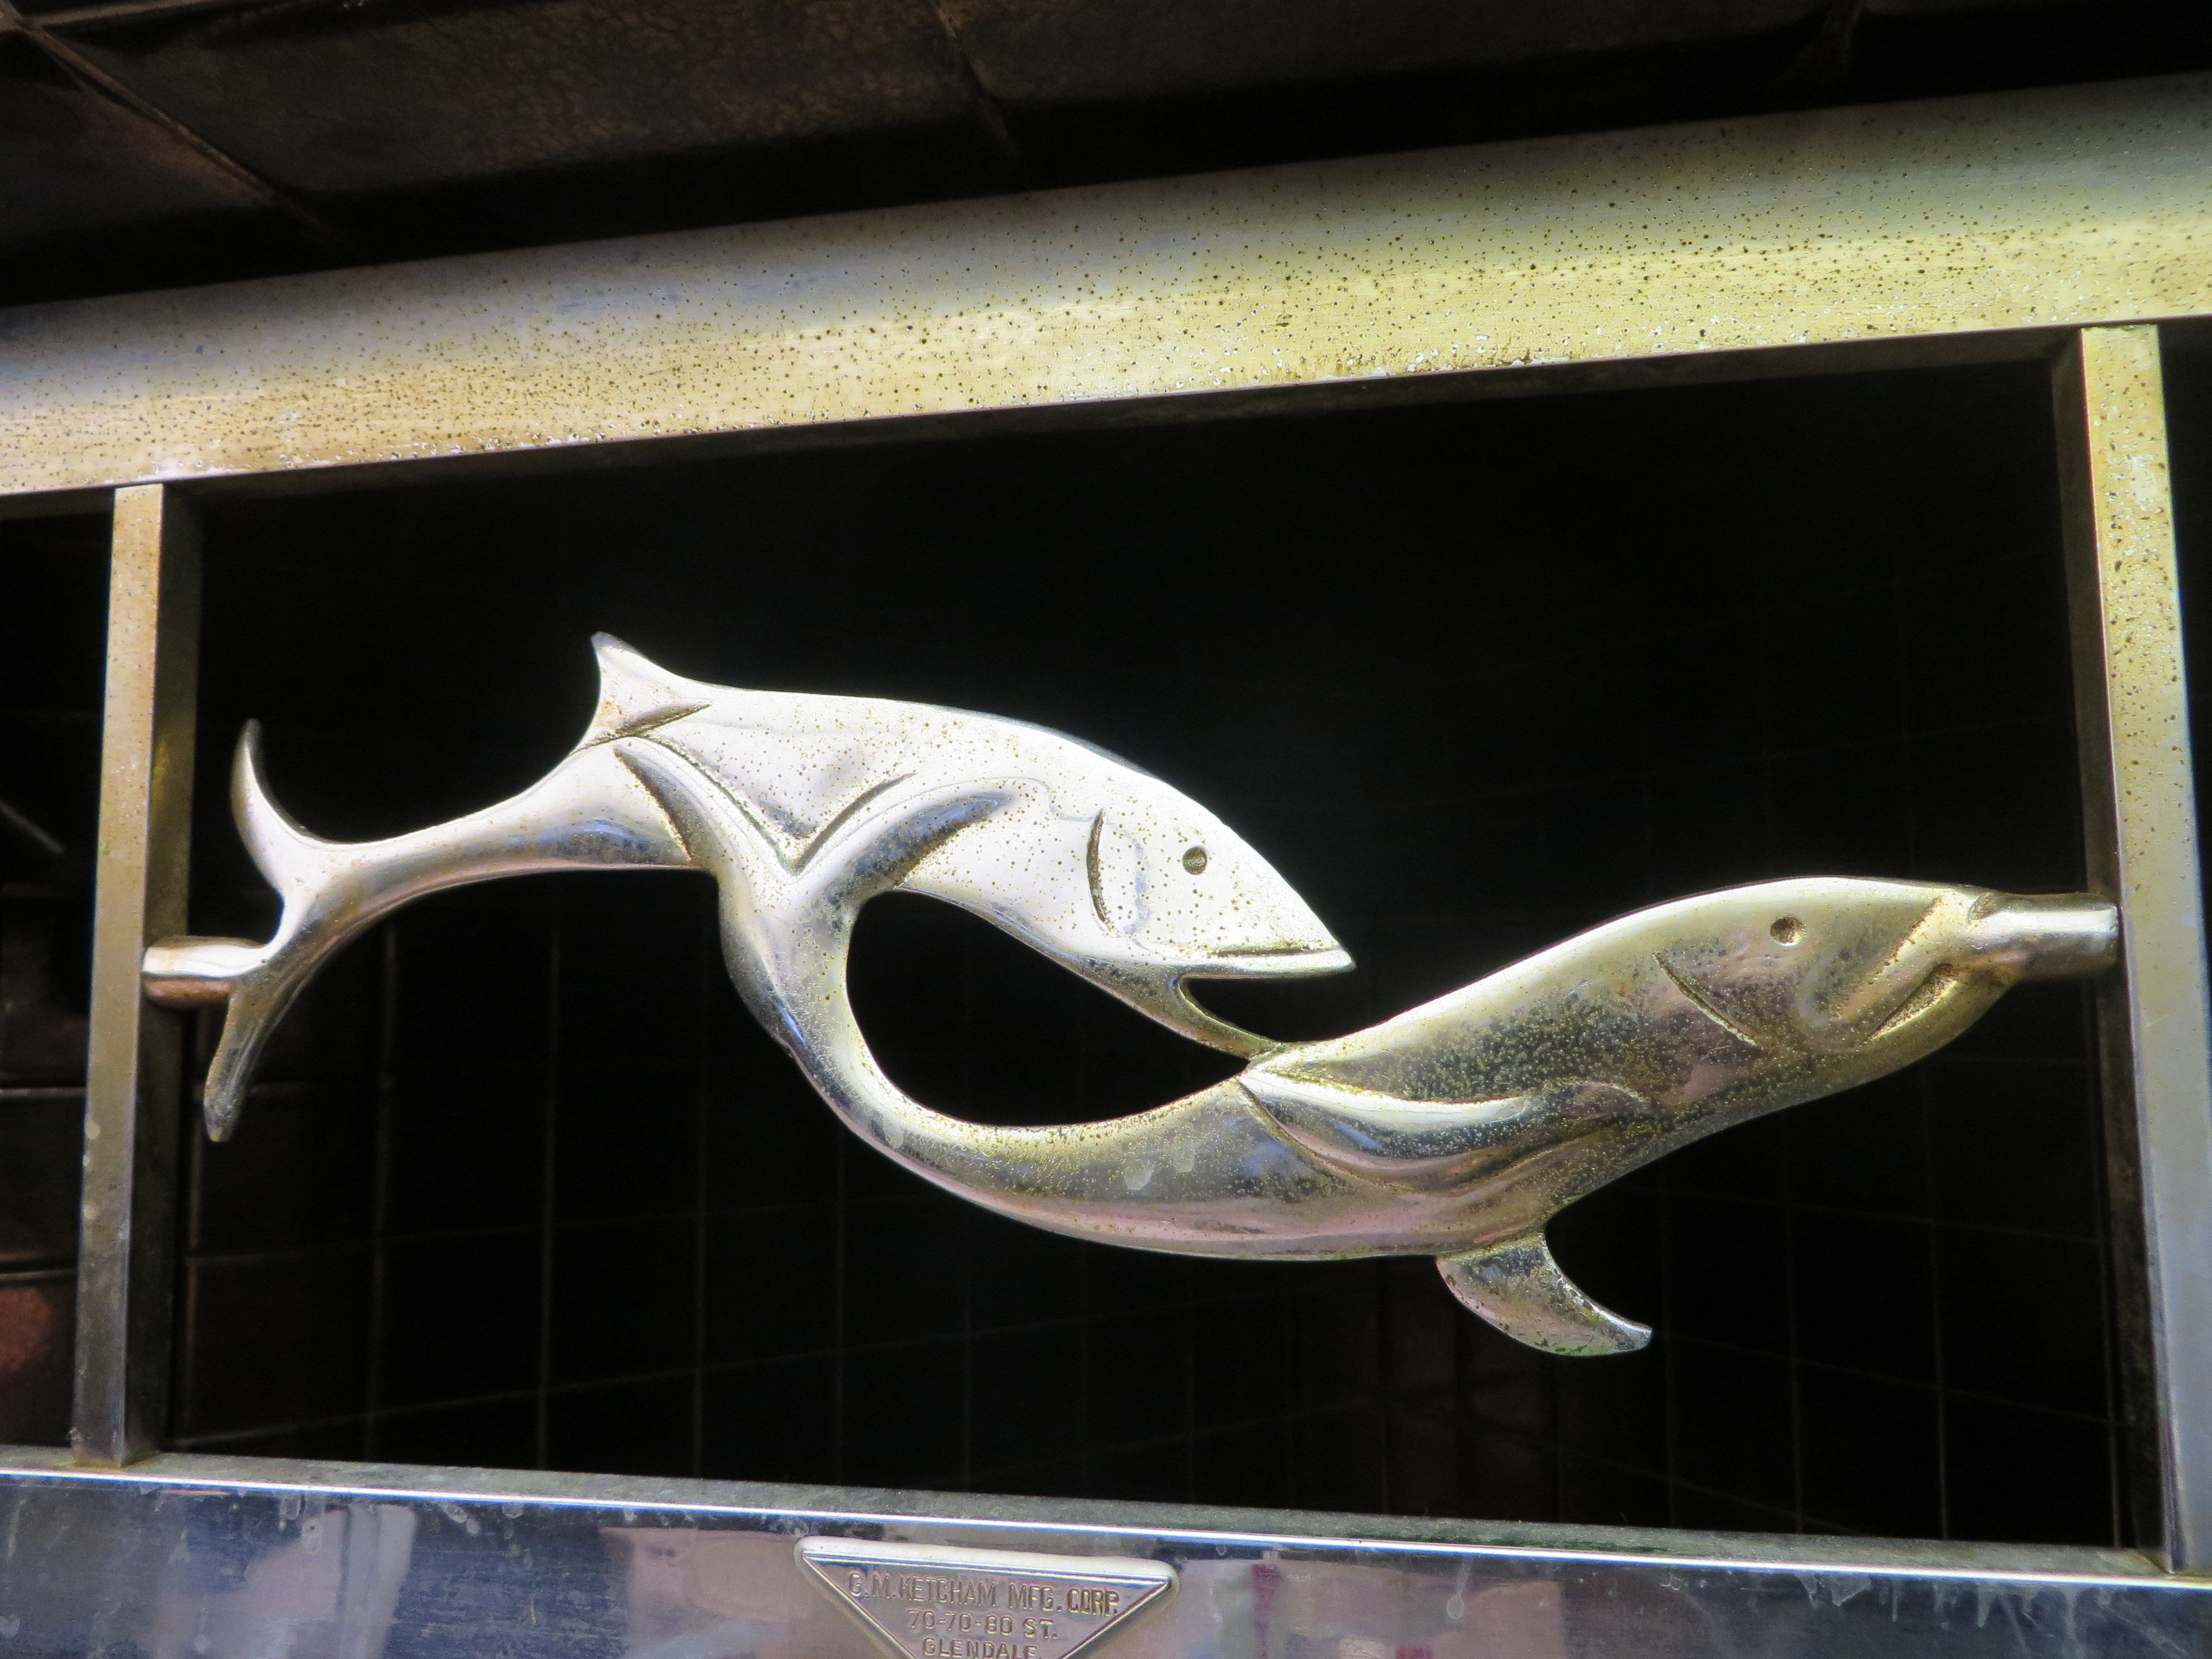
Jack with his Simichrome to the rescue!  Let’s see if he can try to bring it back to life. IMG_1236

First he taped off the glass to protect it.  The Simichrome doesn’t really hurt glass, but it’s a pain to clean off of it, so better to just prevent any from getting on that part of the door. IMG_1241

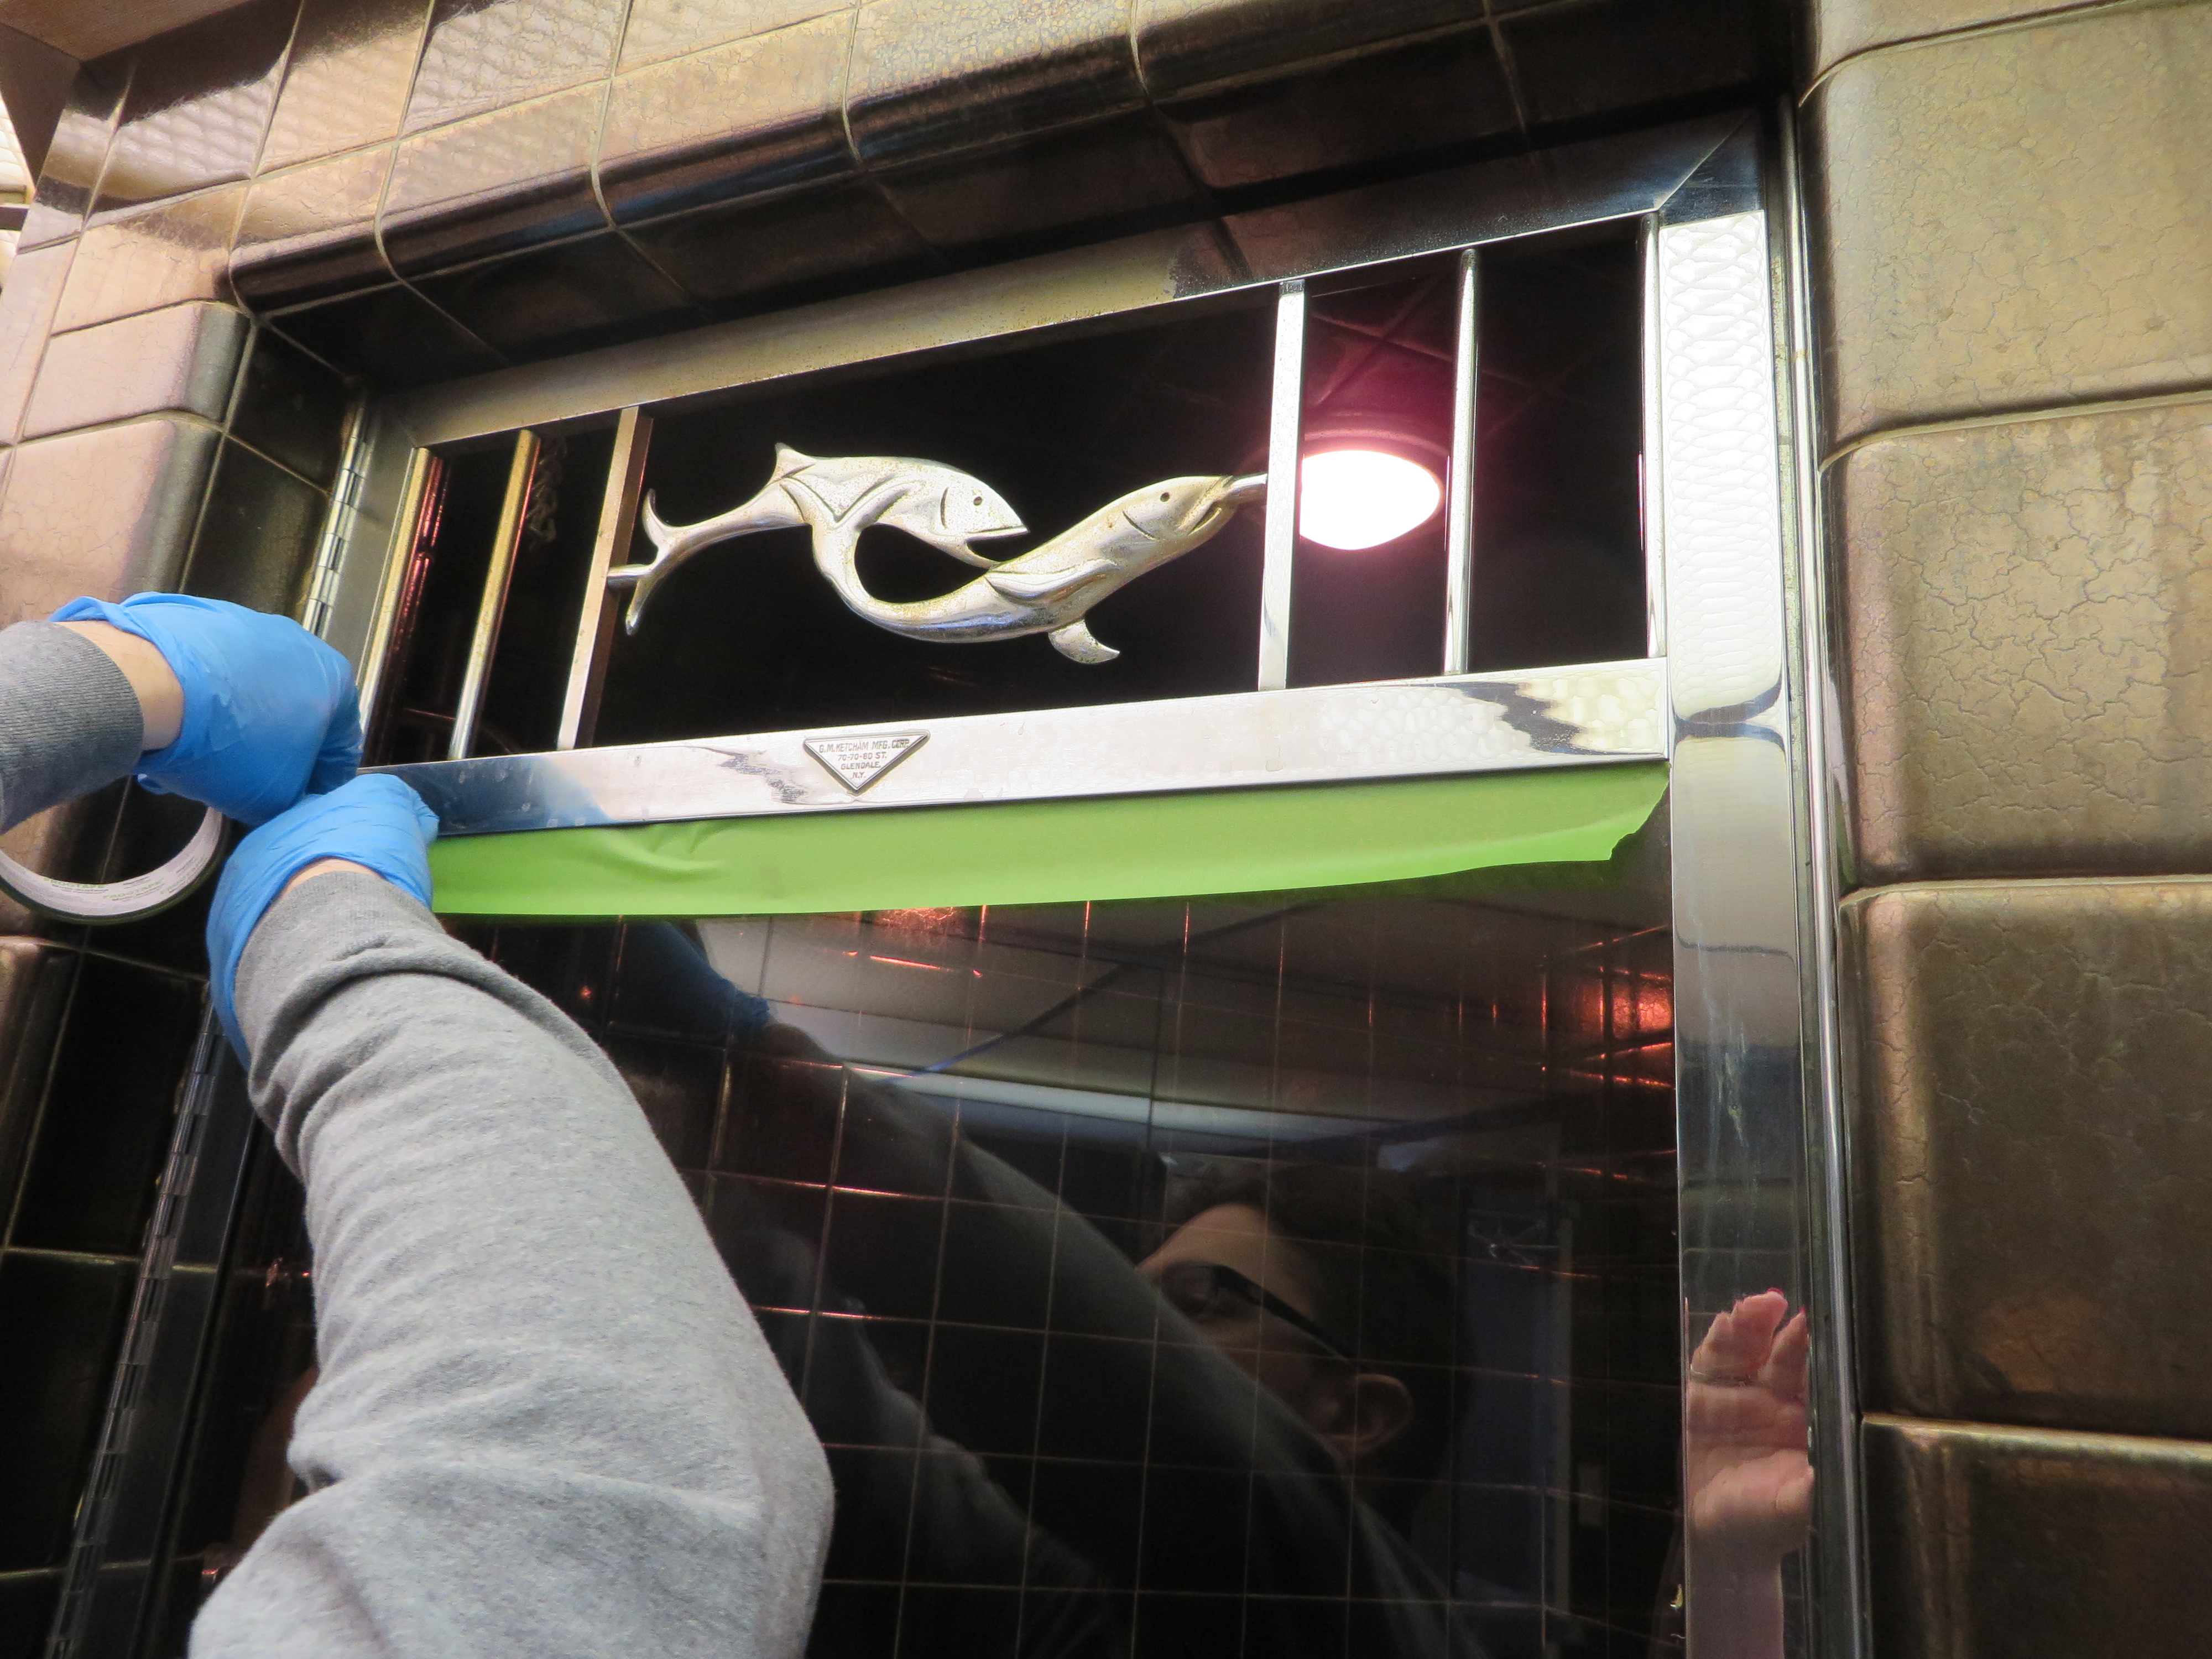
Time to start polishing!  You only need a little bit at a time (a dab the size of a pea can cover a decent amount of chrome), and just buff it into the chrome.  Ours is especially pitted from 60 years of steam, so Jack had to go over it a few times. IMG_1244

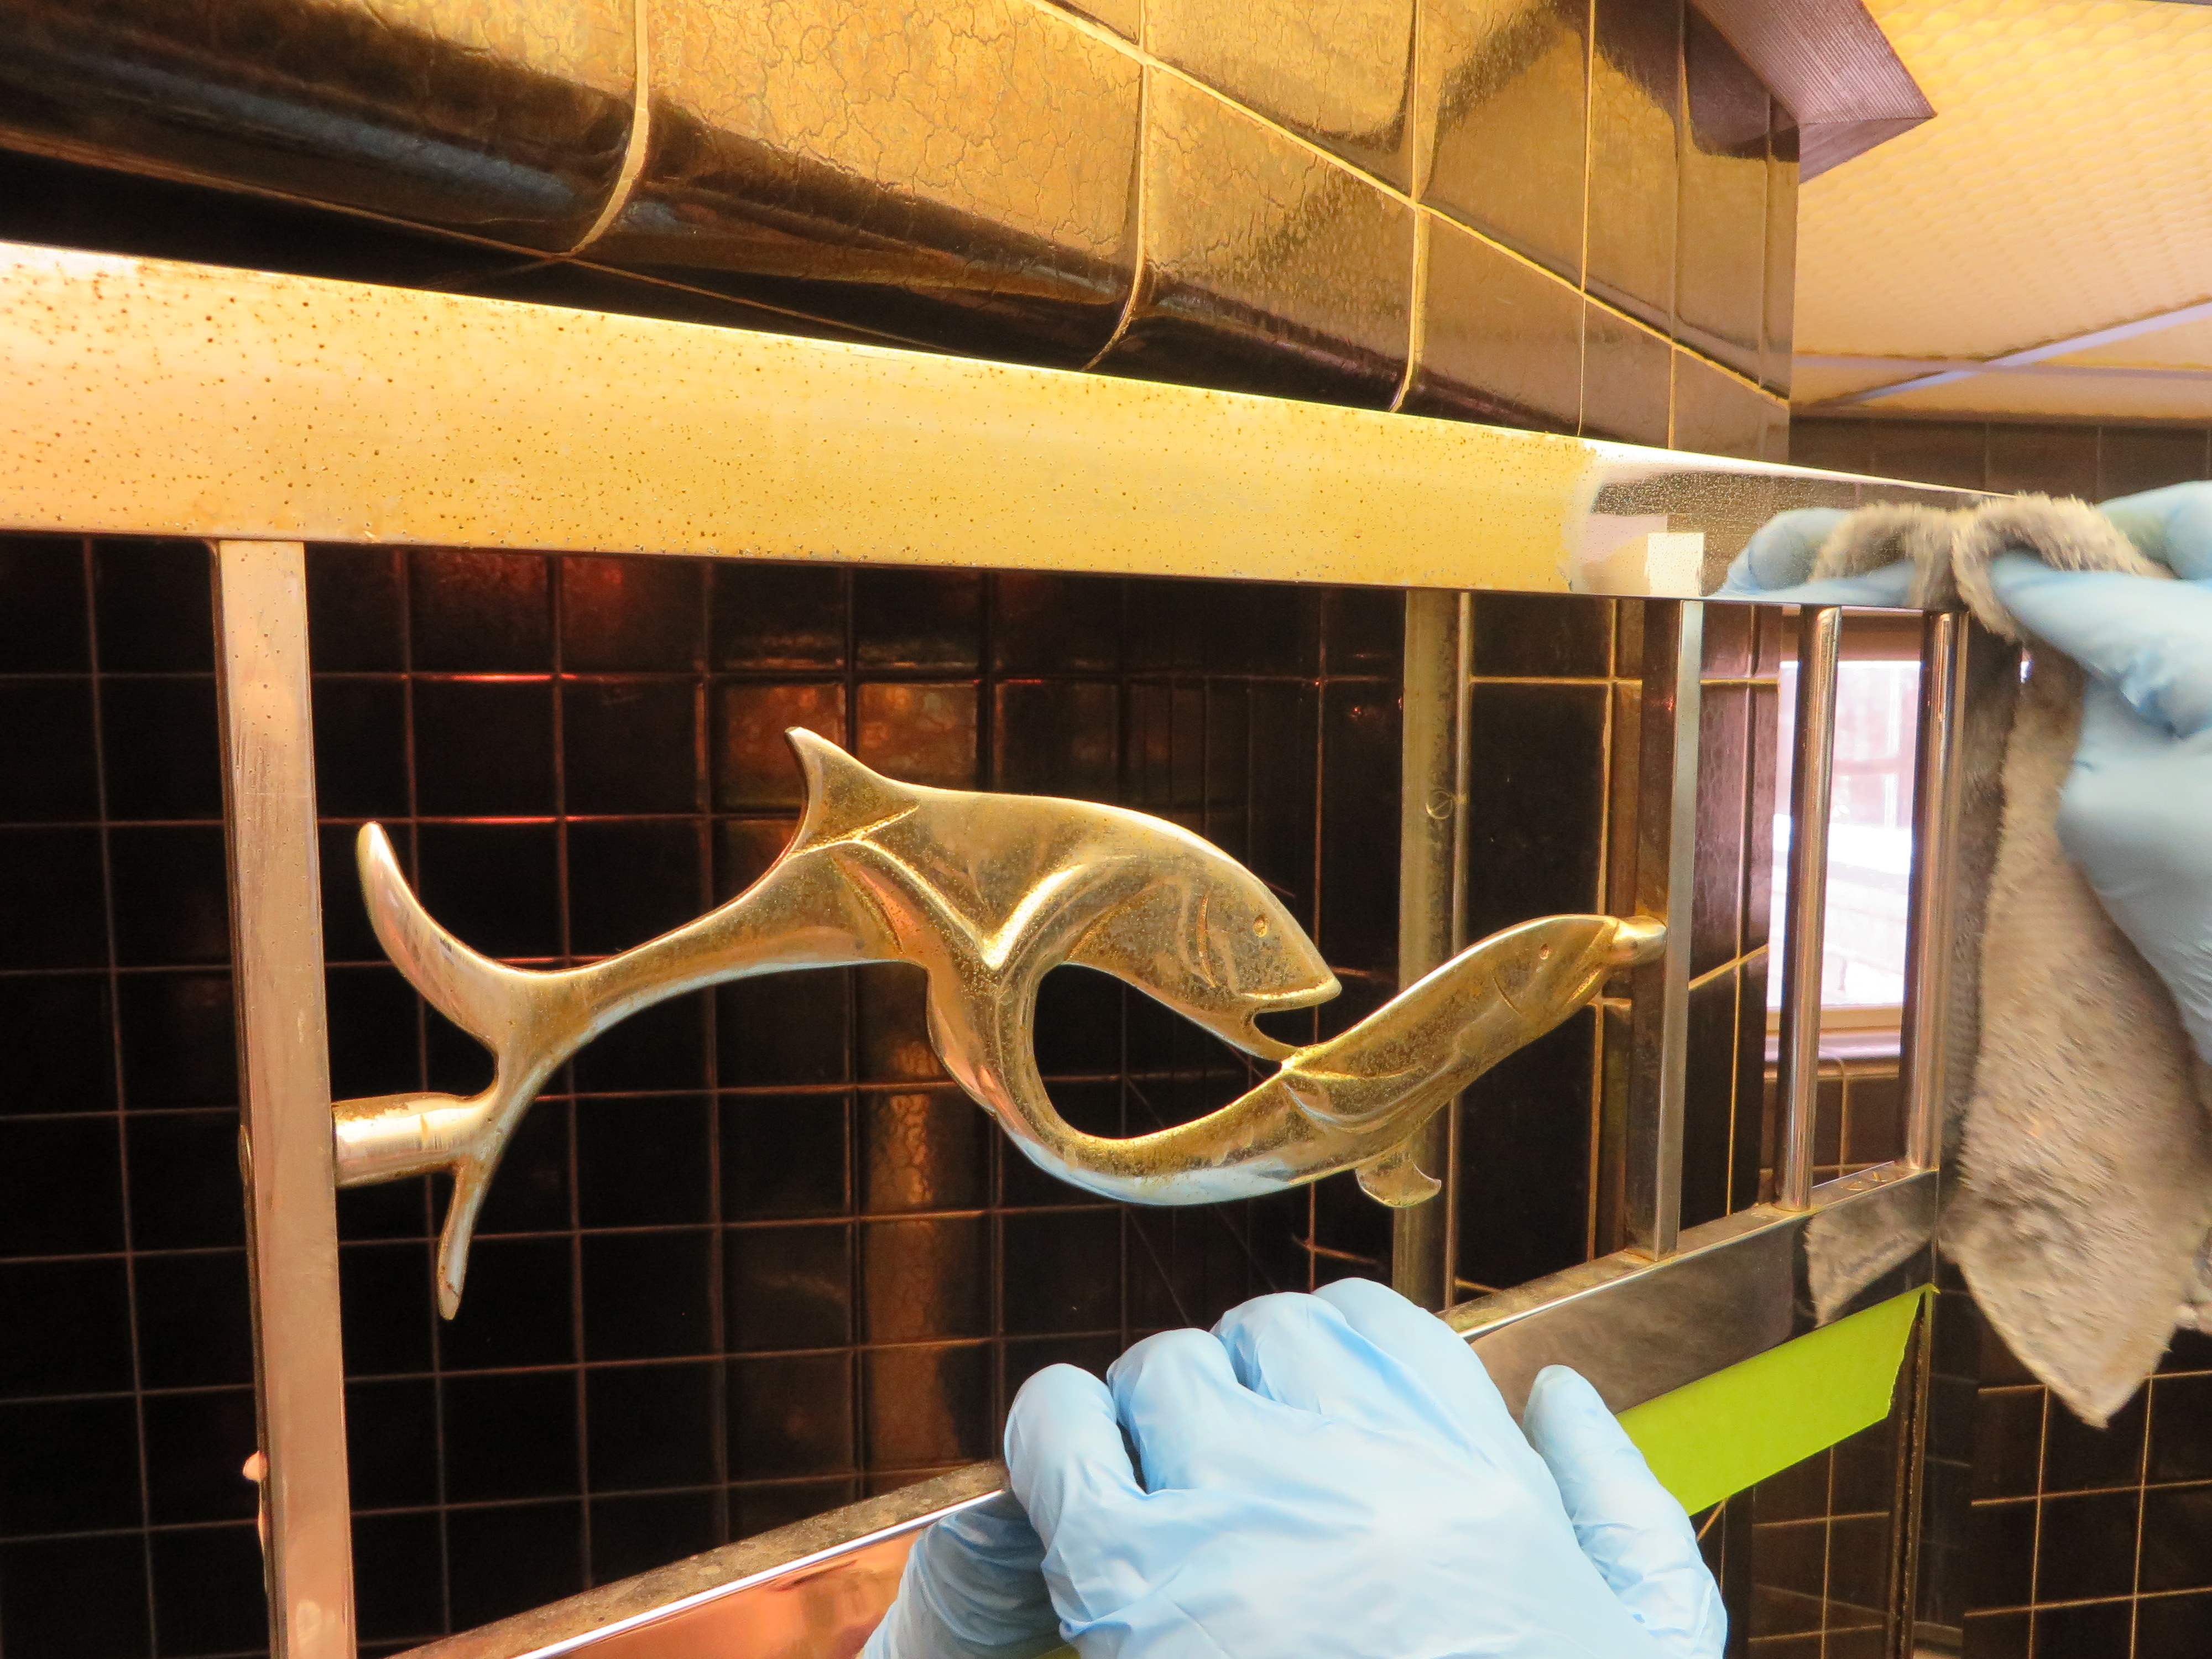
You can see that first area already coming up much shinier than the rest! IMG_1243

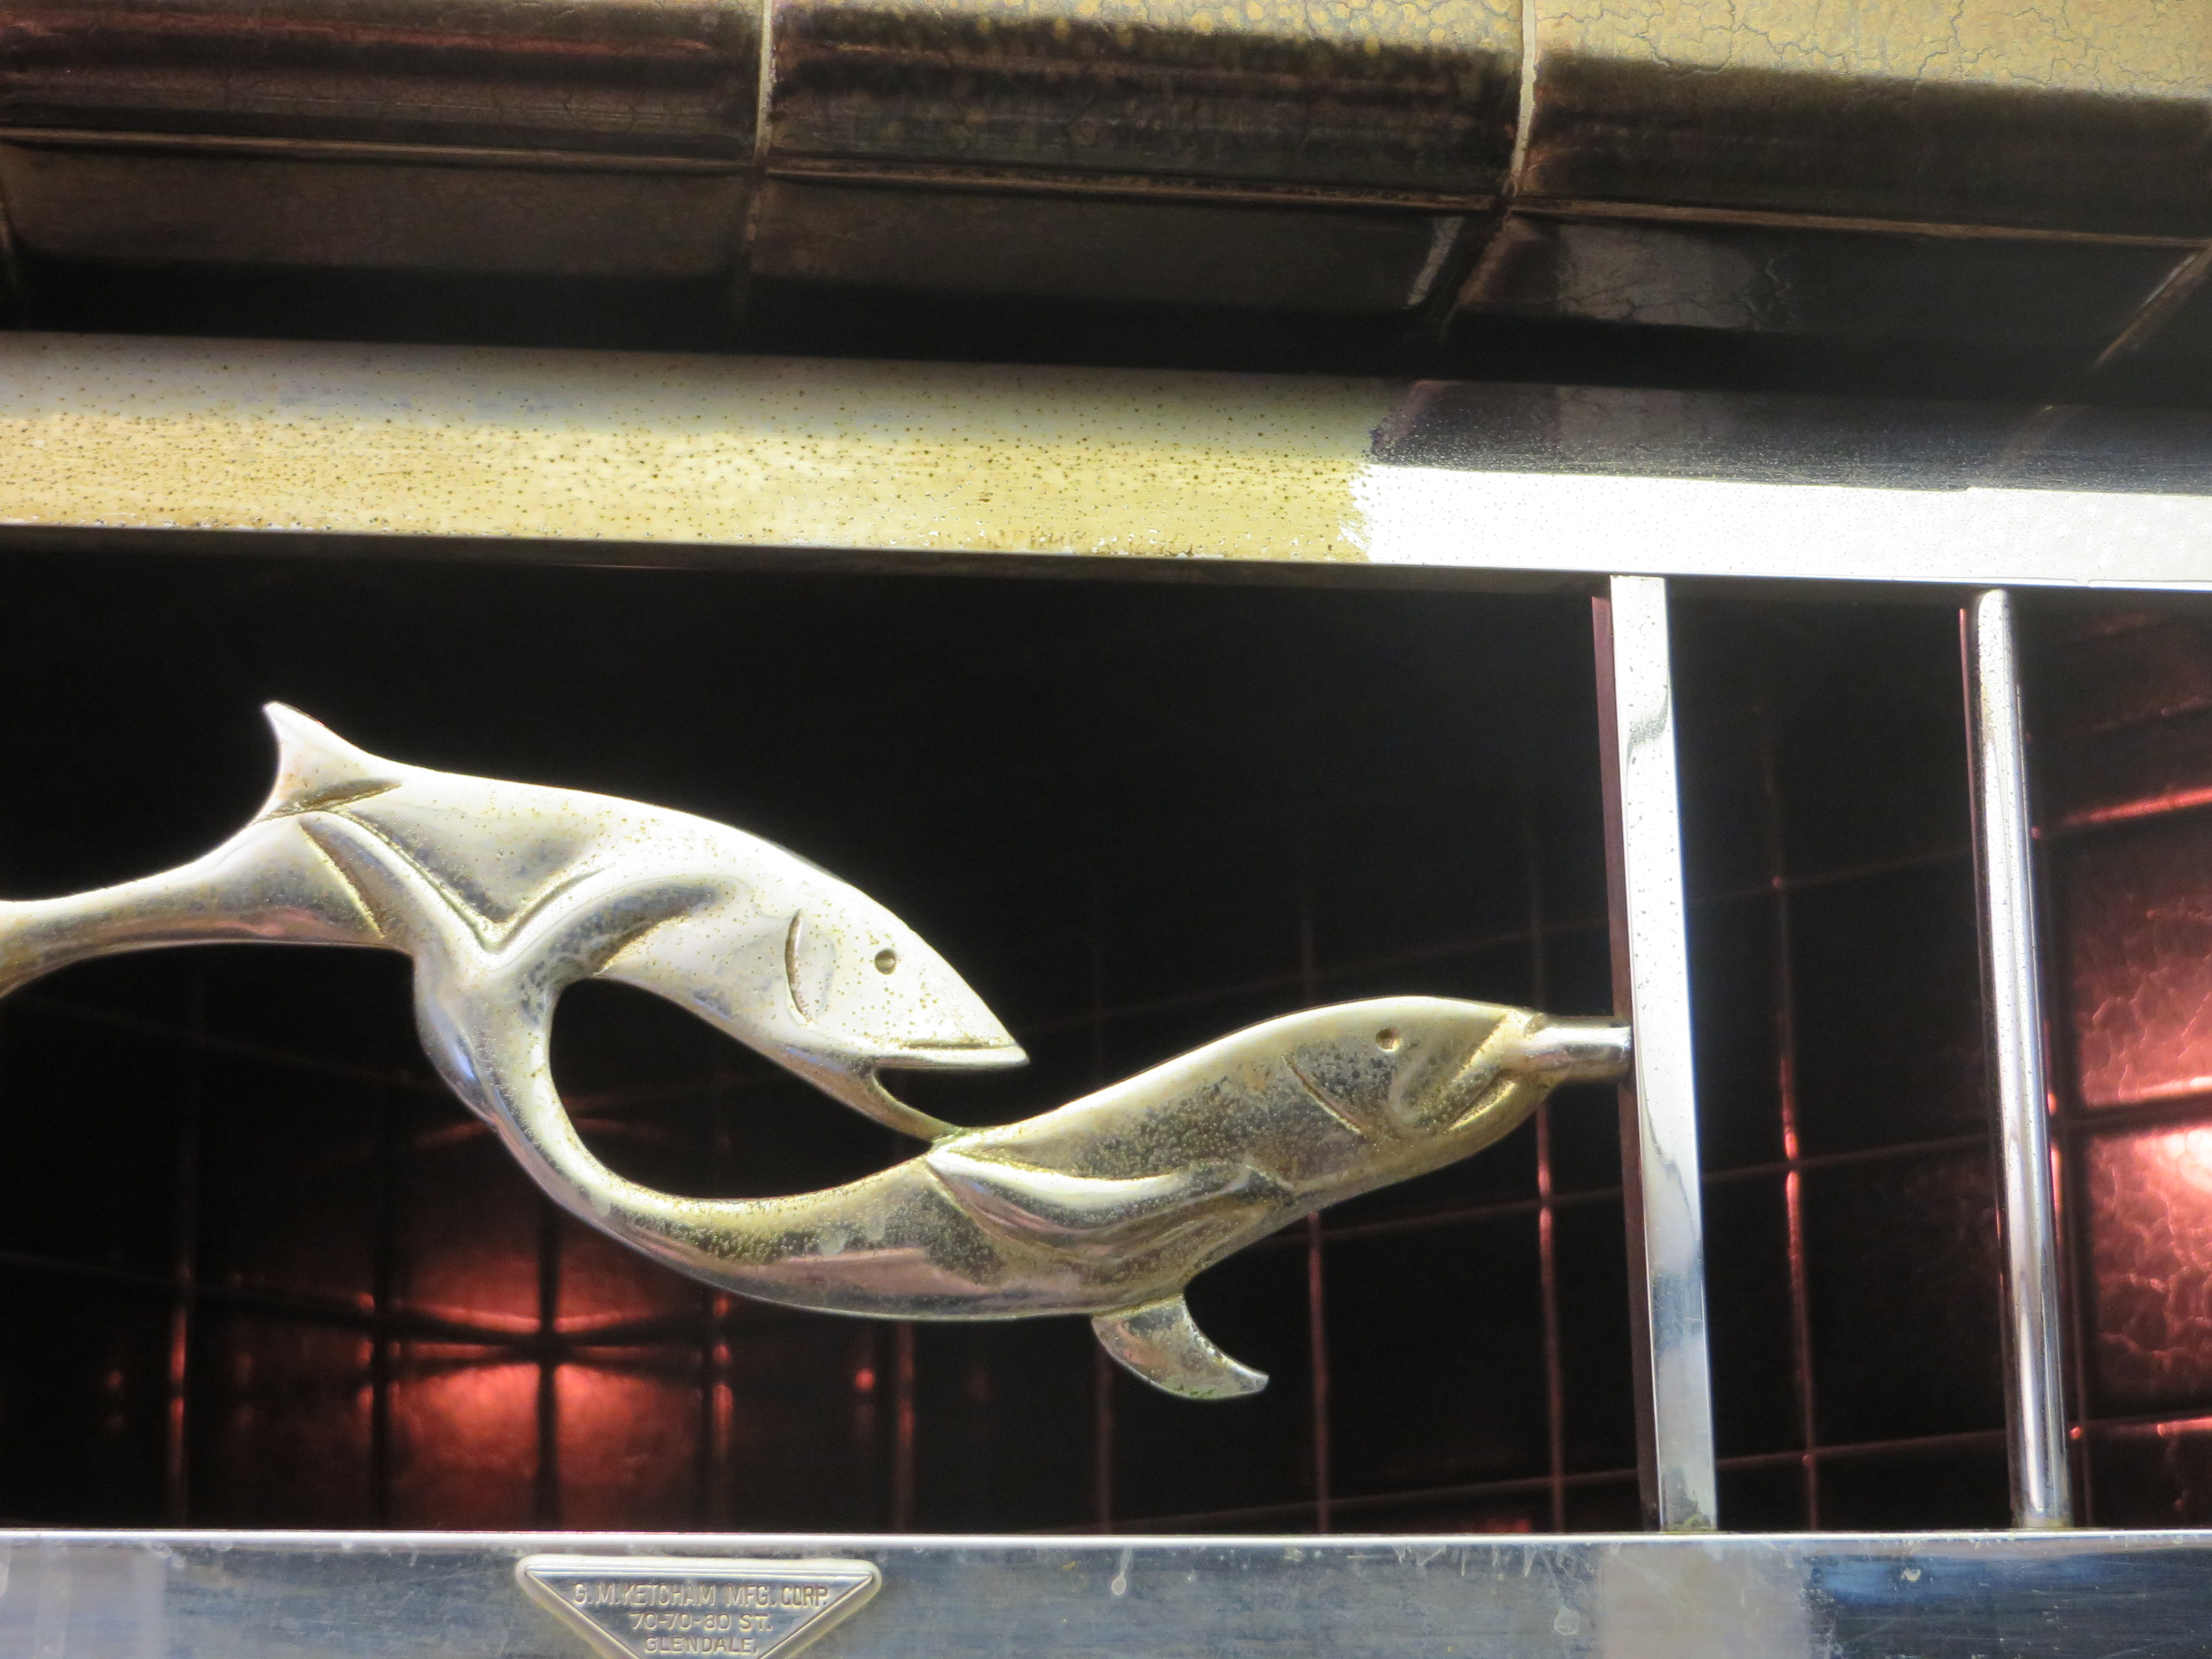
Here’s a short video to show how well it worked:

And now for the “after”!  The pitting is pretty deep, so at some point we’ll have to get the door re-chromed if we want it to look good as new…  but in the meantime, this is such a massive improvement!  Again, before: IMG_1235

And after!  Soooooo much better.IMG_1796

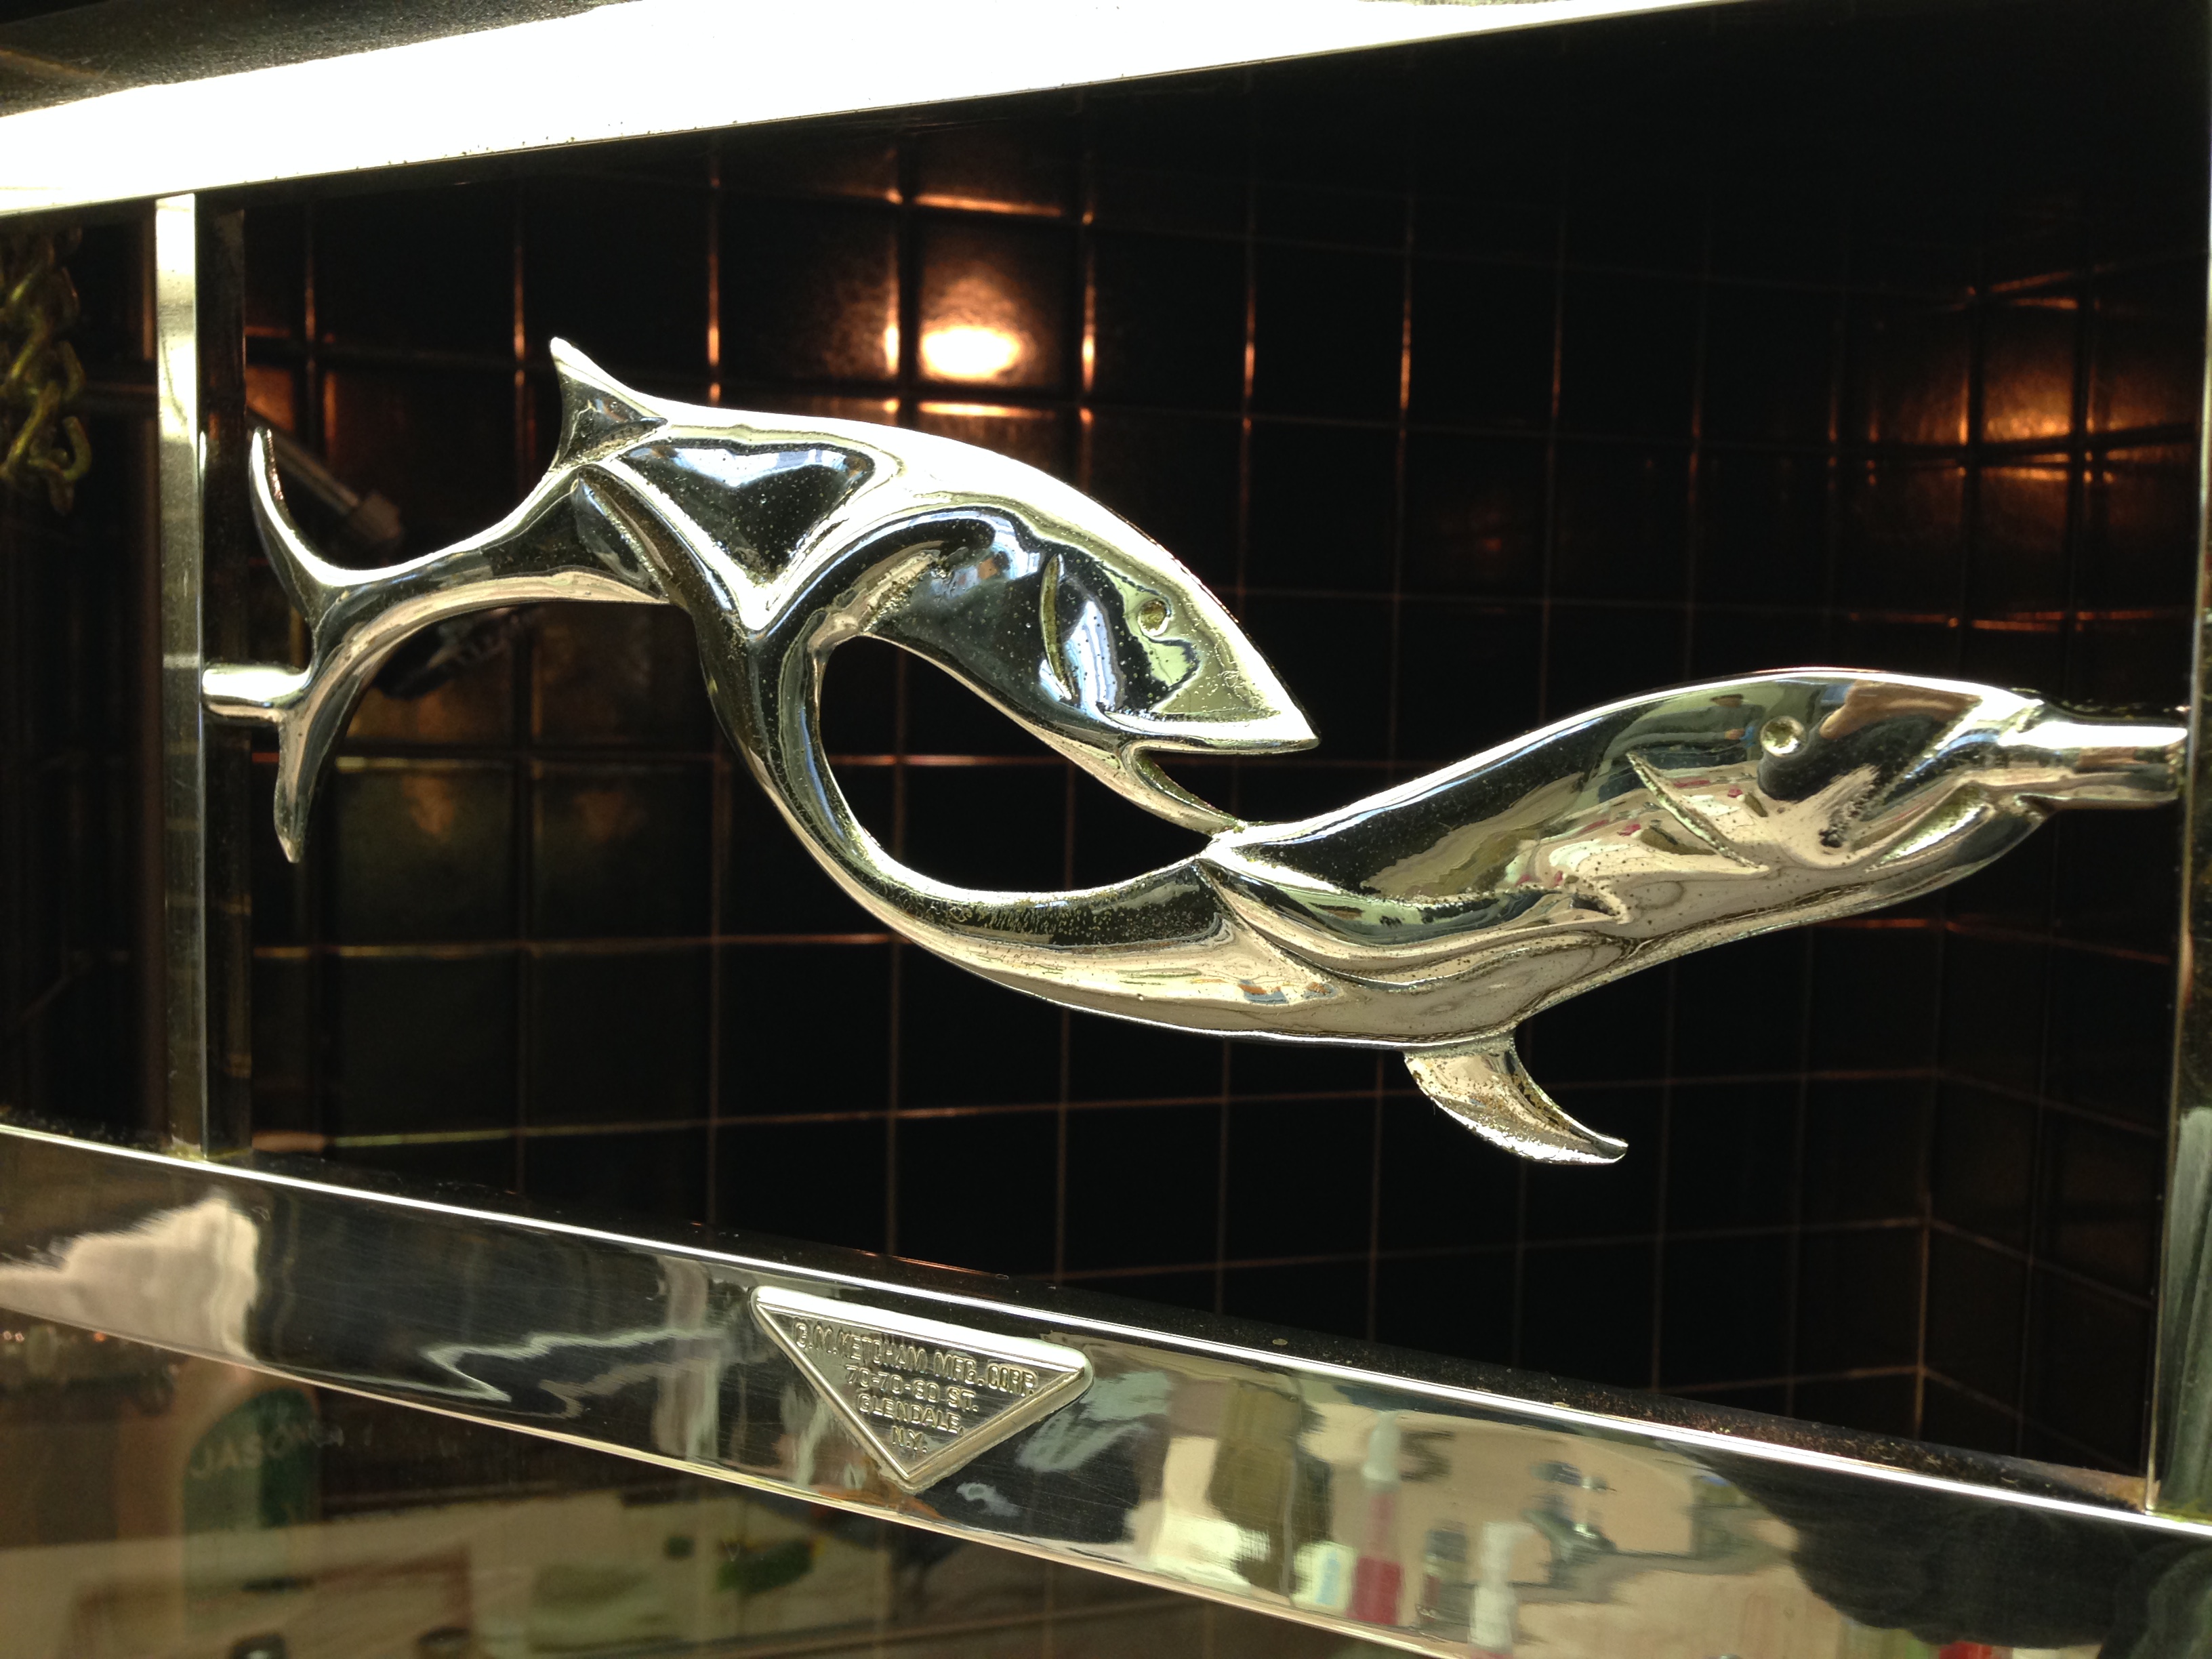
Yay shiny chrome!!!!!  Yay for my handy, smart car-guy husband!

A closer look – our creamsicle kitchen!

This post is SO long overdue!  Since we started this blog, a lot of you have been asking about our kitchen and we’ve been meaning to give you the lowdown.  We were hoping to have had everything finished in there by now so we could just do the whole thing as a massive “before and after” post, but life has gotten in the way and we’re only about halfway there.  So we’ll make this the “before”, and the “after” will hopefully be ready in the next couple of months!

The kitchen is Jack’s favorite room in our house.  It’s one of the reasons we  wanted a new place to begin with — our last house had a teeny galley kitchen, and with Jack’s passion for cooking, the lack of room for storage or food prep or just being in there was a major frustration.  We promised ourselves that our next home would have a bigger kitchen, but this one is way beyond anything we’d hoped for!

So, let’s get the tour going!  Here’s our kitchen in its just-moved-in state:

IMG_0785

As you can see, this is a massive step up for us from a galley kitchen!  We weren’t fans of the curtains, wallpaper, and light fixture, but those are easily changed.  What really got us were all of the cool original features in here.

IMG_0789

A close-up of one corner of the room.  In this shot you can see the (going to be swapped) 80s-style wallpaper…  and if you look under the glass-front cabinet you can see…

A house intercom system!

IMG_0790

It doesn’t work at the moment, but Jack has been scouring the internet for parts to bring it back to life.  There is a speaker in each room in the house (currently the hi-fi can broadcast through them), and with this nifty little guy you can call everyone to dinner.  😛  We can’t wait to play with it!

IMG_0795

The ovens and warming drawers just melted us when we first saw them.  Those porthole windows in the ovens — *squeee*!!!  And they still work beautifully.  Once we moved in and started opening all the cabinets, Jack found the first of many little awesome discoveries — rotisserie skewers that fit in the lower oven!

IMG_1021

We haven’t tried them yet, but they do turn…  we just need to find some sort of instructions so we know how to use them without setting a chicken on fire.  😛  But this adds to our theory that the first owner designed this house as a showpiece for entertaining; you might remember from one of our first posts that he owned a restaurant supply company, so it stands to reason that he would make his kitchen a shining representation of the best in kitchen features for 1957.

Also, if you look to the left of the ovens, you can see a little stainless steel door set into the wall.  That’s one of several hidden gems they built in!  Here’s the door:

IMG_0792

What’s inside there, you ask?  A holder for aluminum foil and plastic wrap!

IMG_0794

There’s another little door across the kitchen near the sink…

IMG_0797

For paper towels!

IMG_0804

Right in front of the paper towel holder is an interesting stainless panel built into the counter.

IMG_0798

This one is amazing — the top circle is a port for appliances, and the bottom one is the speed control!  You pull the top ring off and pop your blender or whatever in there, then turn the lower circle to turn it on.  But even more amazing is — the original appliances are still with the house!  We just about fainted when Jack discovered them in a drawer.  We have a blender, a mixer, a juicer, a meat grinder, and even a knife sharpener!

Here’s the blender:

IMG_1491

And the other pieces:

IMG_0754

And even the instruction manuals are still here!  Like we’ve said before — the past 2 owners never threw anything away!

IMG_0679

Sadly, the cool appliance port isn’t working right now.  And it’s on our fix-it list, but it’s going to be a while before we tackle it because the entire motor needs to be replaced which is $$$.  But one day it will work, oh yes it will!

Now on to the stove.  The stove was one of the first things we had to tackle, because the pilot lights were out of control on this thing.  The gas was so strong that the stovetop was constantly hot — like, burn-yourself-if-you-touch-it hot.  Not only was it dangerous, but it was a huge waste of gas (and money).  So we had an expert friend install a valve on the gas line underneath, so we can completely turn off the gas when the stove isn’t in use.

IMG_0657

Last but certainly not least: the gorgeous floors.  They’ve seen 60 years of use, and have plenty of scratches and dents, but man are they cool.

IMG_0802

The pattern you see in the floor isn’t stamped into a sheet of vinyl — this is 3 different kinds of linoleum, custom cut and put together to create those shapes.  Here’s a closeup so you can see it better; it’s a combination of cream squares with matte orange smaller squares, and then silver metallic stripes to pull them together.

IMG_0803

(Yes, the floor is really grody.  Again, it’s super old!  We need to find an expert who can come in and clean and seal it for us, real linoleum is too delicate for us to mess with ourselves.)

As you walk out towards the laundry room, the pattern in the floor changes to this cool spray of diamonds:

IMG_0907

IMG_0908

So, there you have it!  Our creamsicle kitchen!  We’ve started making a few changes since these pix were taken, but we’ll save the reveal of those until we’re pretty much done.  🙂